Breakfast: pan cooked bun with peanut butter filling and fresh milk
Lunch and dinner: udon with honey roasted drummets and kunbu onion soup
Teatime: yogurt melts and steamed onion juice

Pan Cook Bun/bread
(original recipe by 小龍媽 from Taiwan)
Ingredients: (yield 6 mini buns)
50g All purpose Flour
1g (1/4 tsp) Instant Dry Yeast
30-35ml Fresh Milk/fullcream milk/formula milk
3g olive oil/grapeseed oil/rice bran oil/any vege oil
3g sugar
some black sesame / chiaseed (optional)
Filling:
ANY FILINGS....Kaya...Jam...Butter Jam...cream cheese sauce....custard....and many more~
Steps:
1) in a mixing bowl, add in all ingredients except cheese
2) mix and knead till hand is clean, bowl is clean and dough is smooth.
3) cover dough with clean damp cloth, rest for 10-15mins
4) divide dough into 6 equally portions, wrap in filling in each dough
5) roll and flatten the dough。
Pan cook method:
a) place buns in a non stick pan (no oil needed), close lid and proof for 20-30mins.
b) pan cook with smallest fire for 5-8 mins.
c) over turn the bread and pan cook till both sides golden brown.
Oven method:
a) place buns on baking tray laid with parchment paper, proof for 20-30mins inside off oven.
b) remove baking tray from the oven, preheat oven till 150'C.
b) bake at preheated oven of 150'C for 10 mins.
p/s: for nicer outlook, just simply pan fry without oil both sides golden brown.

平底鍋烤麵包(香煎包)
(原食谱:小龍媽)
材料:(6小粒麵包)
【麵皮】
中筋麵粉50g
酵母1g (1/4茶匙)
鲜奶/全脂奶/配方奶(奶粉+水) 30-35g
橄欖油/任何植物油3g
糖3g
黑芝麻/奇亞籽(可省略)
【內餡】
任何果醬,加央,卡士達醬,等等。 。
作法:
1.粉類過篩。
2.除了起司片以外,所有的材料全部拌勻,拌至無粉的狀態即可。
3.蓋上擰乾的濕布醒麵10-15分鐘。
4.取出麵糰放在撒上麵粉的揉麵板上。
5.分成6等分,桿平並放上餡料,收口處緊密捏合。
平底鍋版:
a)放入平底不沾鍋不需抹油,發酵20-25分鐘。。
b)蓋上鍋蓋用最小火烘烤5-8分鐘。
c)兩面均烤至上色即可起鍋盛盤。
烤箱版:
a)把麵包排放到烤盤上,送進沒有開電源的烤箱裡發酵20-25分鐘。
b)把烤盤取出,開始預熱烤箱150度。烘烤約10分鐘即可。
備註:如果想要煎包上色美觀,可以用不沾鍋幹煎至兩面上色就可以了。

Honey Baked drummets
Ingredient:
5pcs chicken drummets ( i use kee song brand)
2 gloves garlic (crushed)
1/4 tsp liquid amino
dash of pepper powder
some garlic powder
1 tbsp fresh milk
some honey
Steps:
1) Marinate the drumstick with all the ingredients for 30mins or more or overnight
2) Preheat oven to 190 degrees C.
3) Place chicken drumstick on a plate then place on the baking tray and brush some honey on the surface.
4) Bake for 20 minutes
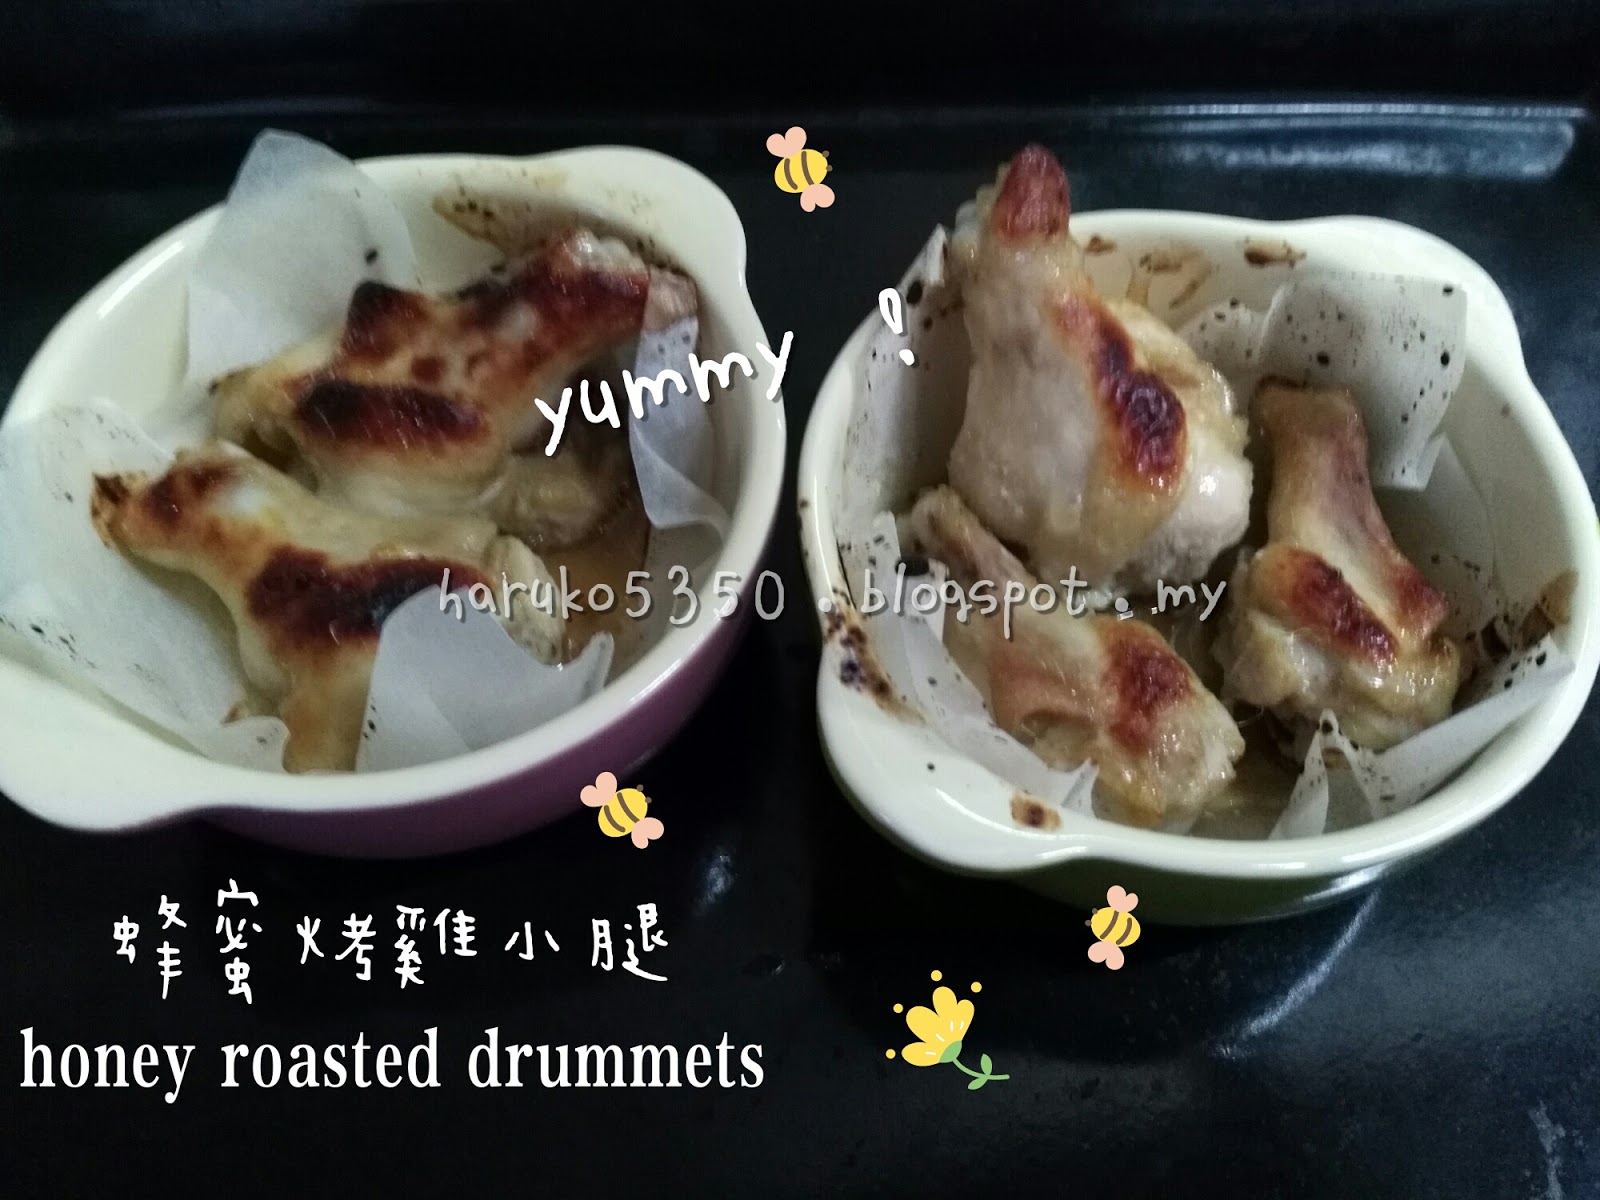
蜂蜜烤雞小腿
材料:
5只其祥小雞腿
1/4 茶匙天然醬油(我用液體氨基)
胡椒粉 適量
蒜粉 適量
一些 蒜泥
牛奶 1湯匙
蜂蜜 適量
做法:
1)把蒜泥和雞腿一起放入一個碟子裡,倒入醬油,蜂蜜,胡椒粉,蒜粉和牛奶,放入冰箱冷藏室醃約30分鐘或隔天再烤也可以
2 )烤箱預熱至190 ℃。
3 )然後把雞腿放在烤盤上,表面再塗一些蜂蜜。
4)烘烤20分鐘。


優格酸奶溶豆
材料:
原味優格 45克
嬰兒奶粉 38克 (如果没有,全脂奶粉/玉米粉代替)
玉米澱粉 25克
蛋白 2粒 (73-75g)
細砂糖 10-15克 (我用10克而已)
檸檬汁 幾滴(加蛋白中去腥和稳定蛋白泡泡)
做法:
1. 稱出適量優格 ,把奶粉與玉米澱粉過篩後與優格攪拌均勻後備用。奶粉為無糖的嬰兒配方奶粉。
2. 蛋白在無水、無油清潔的容器中打發,當魚眼泡時加入細砂糖,打發至硬性發泡。很硬那種,拉出攪頭很短的尖那種。
3. 將優格糊與蛋白糊混合翻拌後,不需要過度攪拌,快手操作,提前預熱烤箱,我用100度左右就可以,記得鋪上矽膠墊哦!強烈推薦,以前我用烤紙,這幾次用的矽膠墊超級給力,裝入裱花袋中可用圓嘴或者我這種中號六齒擠出小饅頭或者小塔糖的形狀!
4.因為給寶寶吃就不要擠很大,小小顆很適合寶寶,所以就這個量,你可能也會擠兩盤以上,我是兩盤一起烤的,低溫烘烤用了60分鐘,中間有上下倒換一下烤盤,原則是不上色好看!
5.最後也可關閉烤箱,不拿出烤盤在裡面悶烤一下,當你的溶豆不容易從烘培紙上取下的時候,就是沒有烘烤透,需要延長時間。烤好後要密封儲存!此款小食不會很甜,很適合寶寶,入口即溶!
*小貼士*
1. 請根據自家烤箱溫度做調整,我的烤箱比較大,小烤箱的火力比較猛。要看著一下,以免糊掉。
2.不成形請根據以下兩點找原因:要么酸奶太稀,水分太多,要么攪拌過度消泡了!
3.從烤紙上取不下來要么烘焙時間不夠,還是軟的,要么烤過了,已經糊了!
step 1 - mixing yogurt, milk powder and corn starch
step 2 - 7 : beating egg white, squeezing out batter

Plain Yogurt Melts
Ingredients
45g Natural Greek Yogurt (or using flavoured yogurt)
38g milk powder / baby formula milk powder
25g corn starch
2 large egg white
10-15g castor sugar (I used 10g only)
1/2 tsp lemon juice or vinegar
Steps:
1) add milk powder and corn starch into the yogurt
2) add the lemon juice into egg white, beat the egg white with sugar till hard peak form
3) add 1/3 of the egg white into the yogurt mixture, mix well
4) add the yogurt mixture into the 2/3 of the egg white and fold well gently but quickly.
5) preheat oven at 120'C
6) put the mixture in a piping bag or plastic bag, cut a 0.7cm hole at the edge
7) Squeeze out mixture onto baking tray laid with non stick parchment paper
8) Bake at 100'C for 60mins or till the cookies easily be removed from the parchment paper
9) let the cookies sit in the oven for further 10-30mins is recommended.

Just follow the above recipe by using 6 onions instead.
只需依照以上的做法, 用了6粒大洋蔥。


